Install SQL Server Express 2019 on Windows
In this blog we are going to see how to install the Microsoft SQLServer 2019 Express Edition on Windows machine.
First we need the installer.
This we can download from microsoft’s site : https://www.microsoft.com/en-in/sql-server/sql-server-downloads
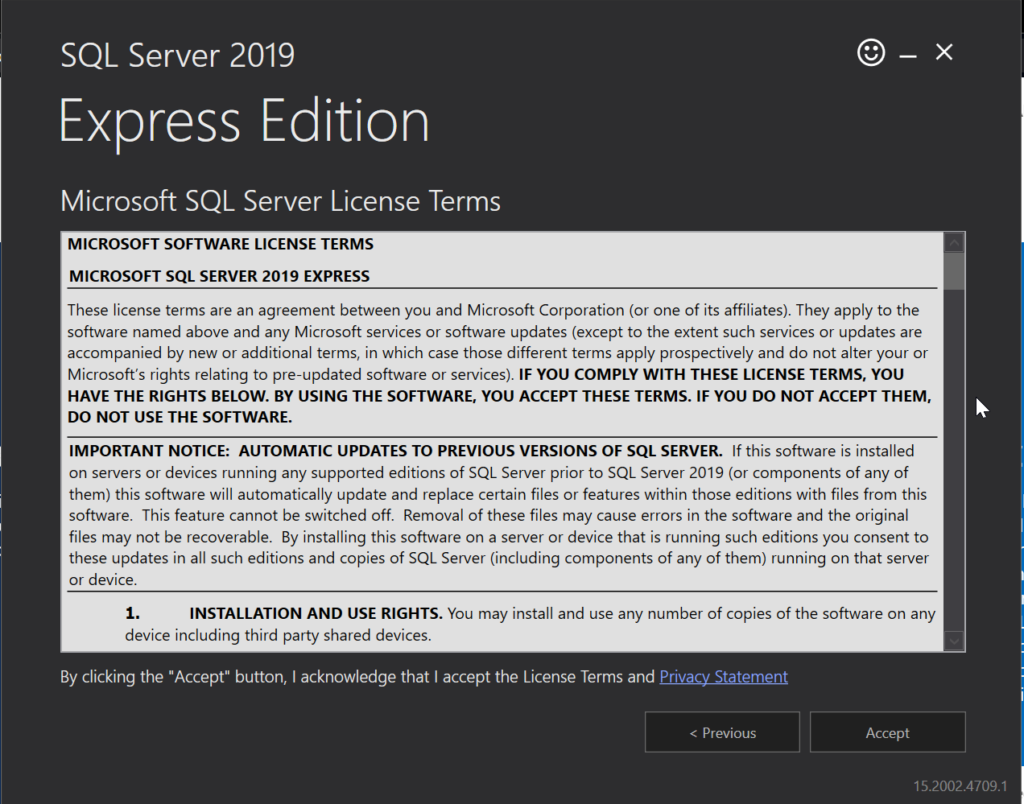
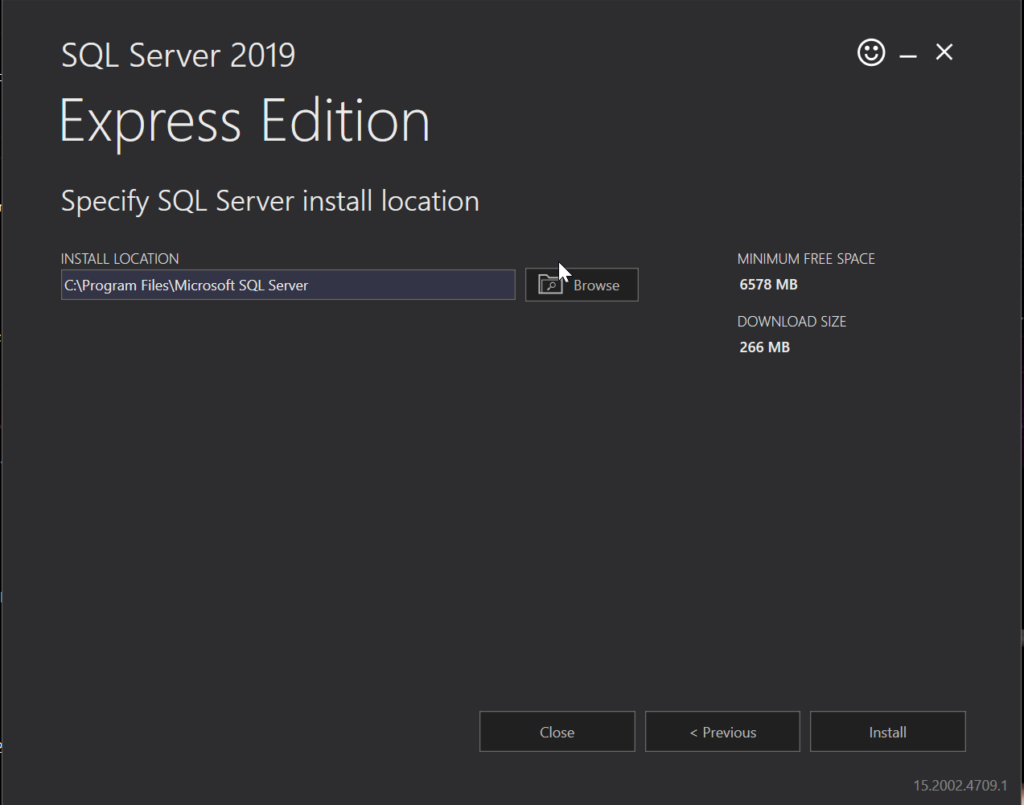
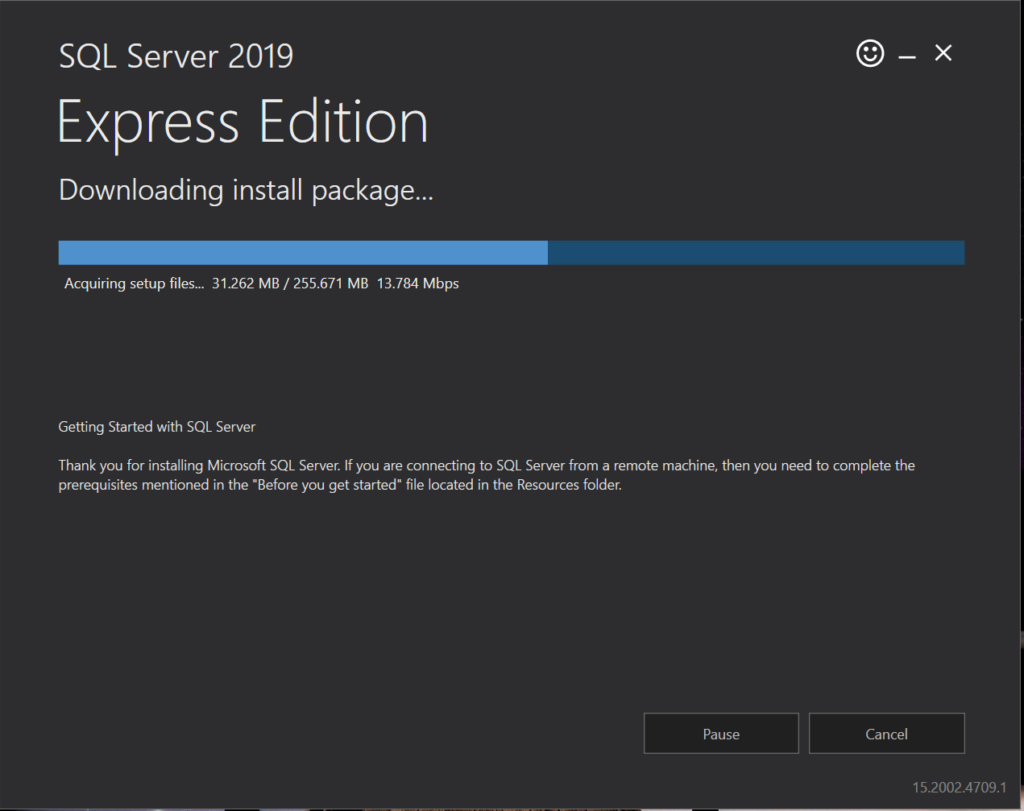
After downloading double click on the installer to start installing it.

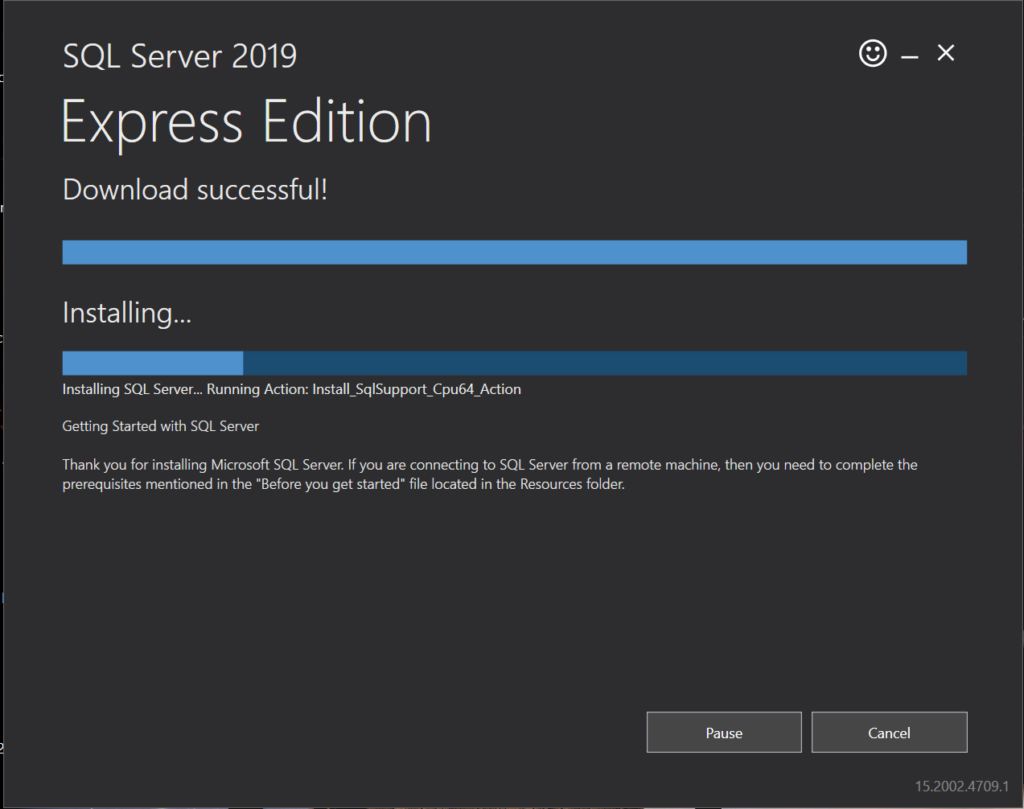
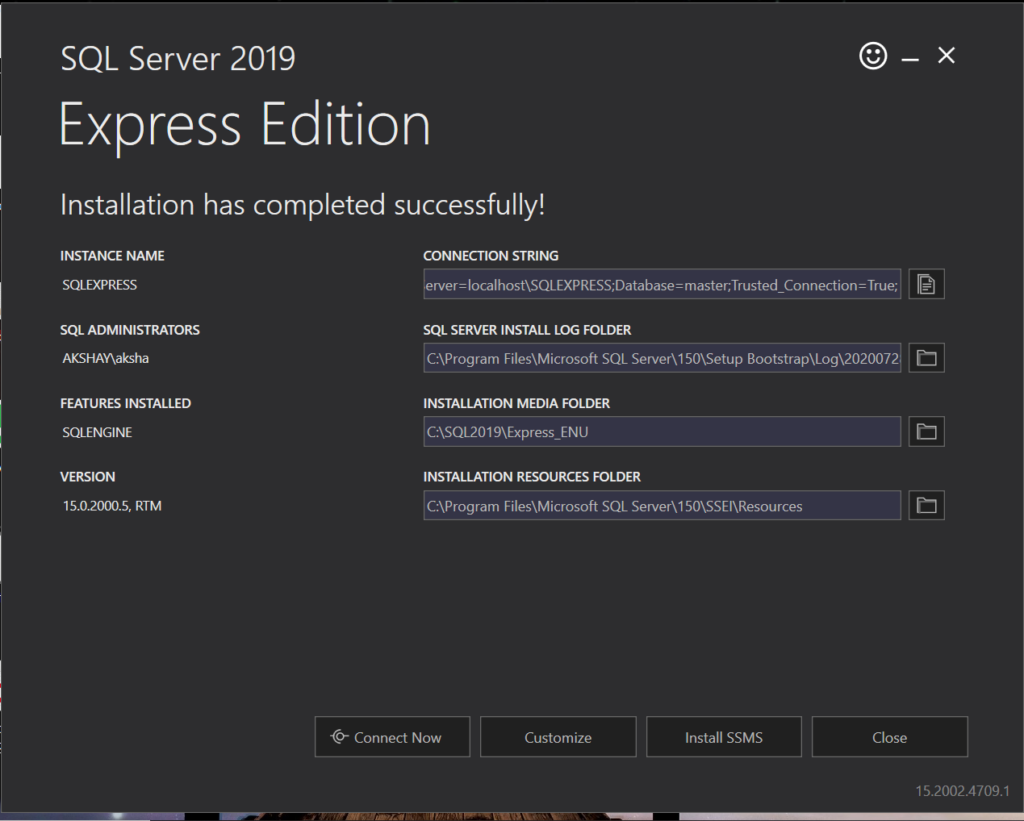
At this point, the SQL Server has been successfully installed on your system. Next step is to download and install the Management Studio a.k.a SSMS [SQL Server Management Studio] for managing all the SQL Server related stuff.
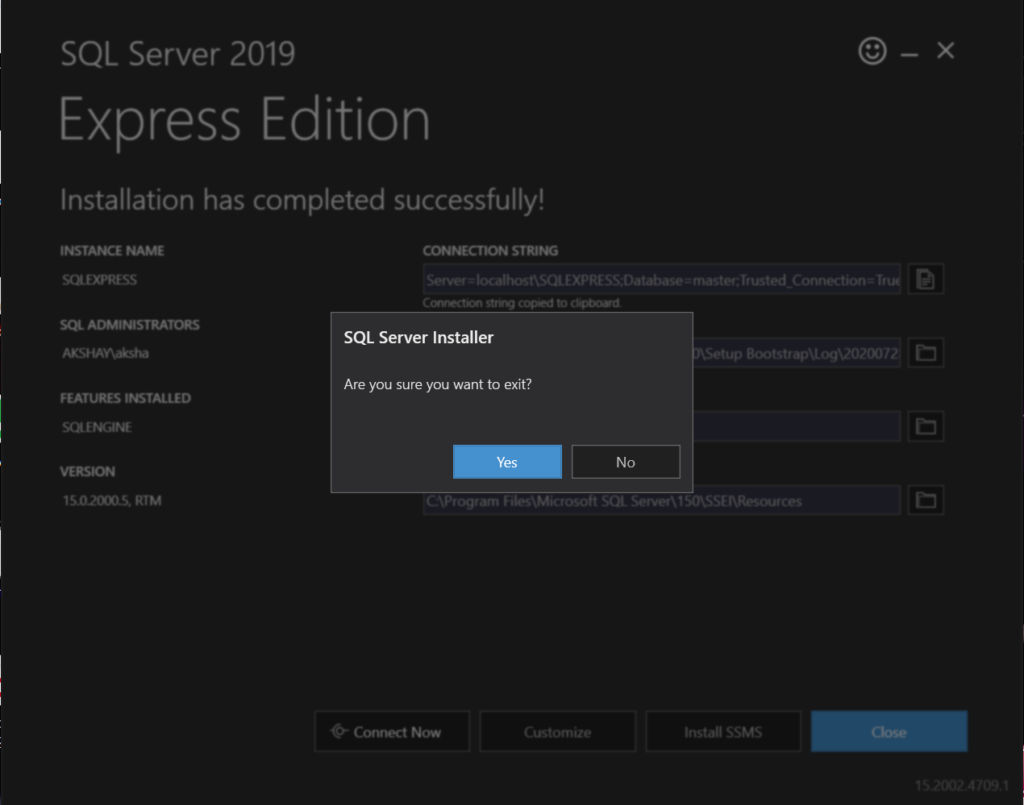
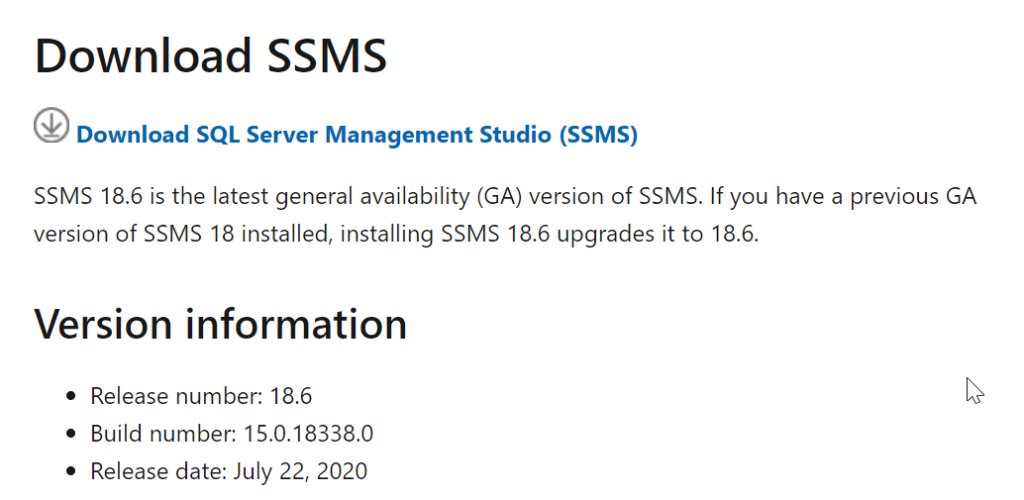
Click on install SSMS, it redirect to download location. Click on Close and Exit. Download the SSMS.
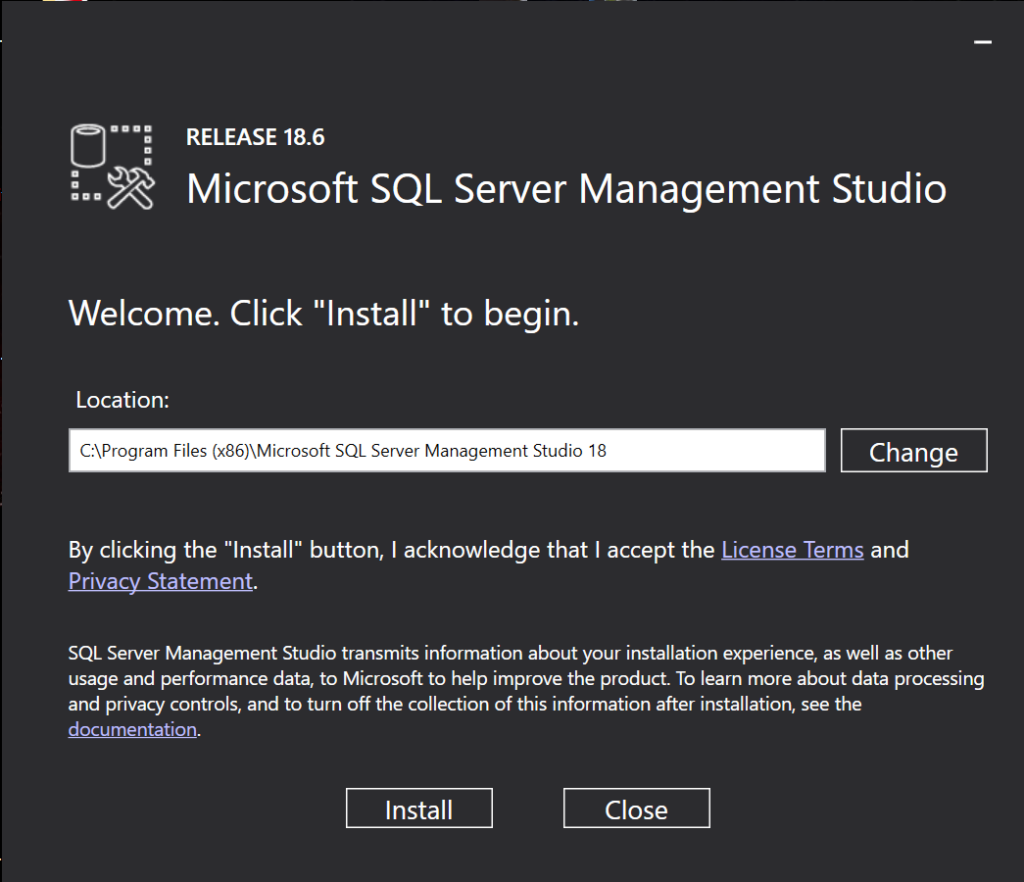
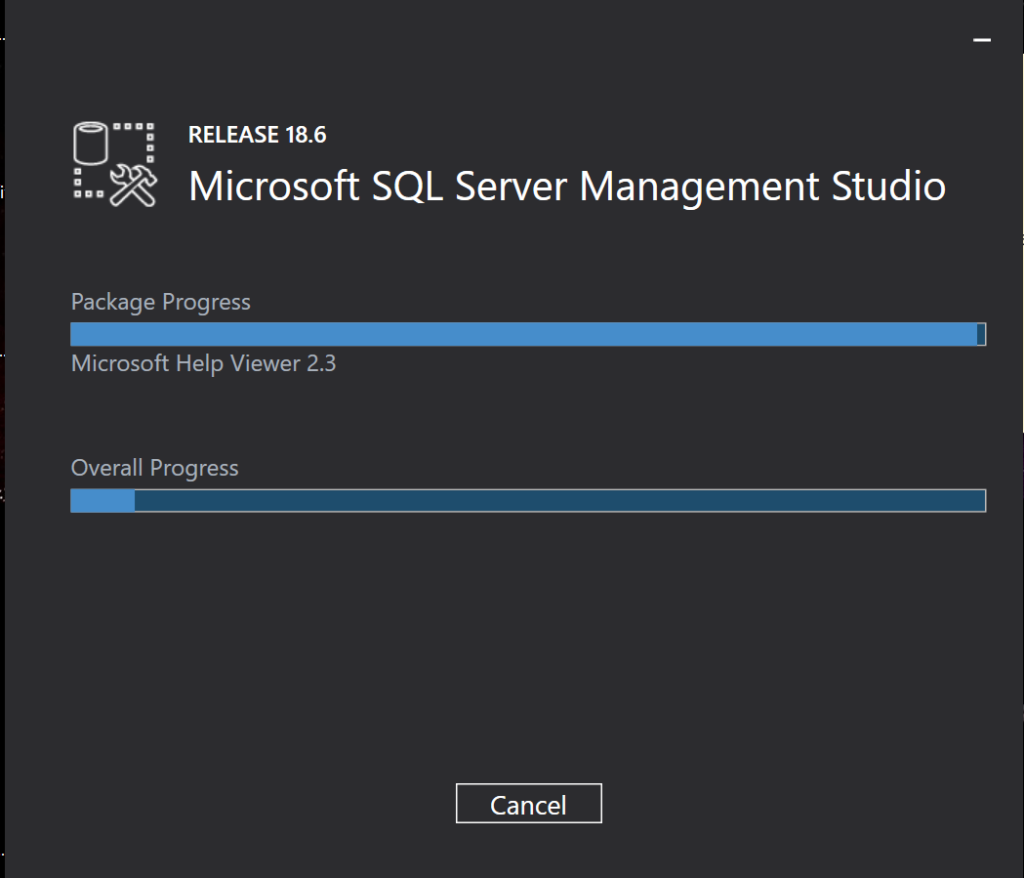
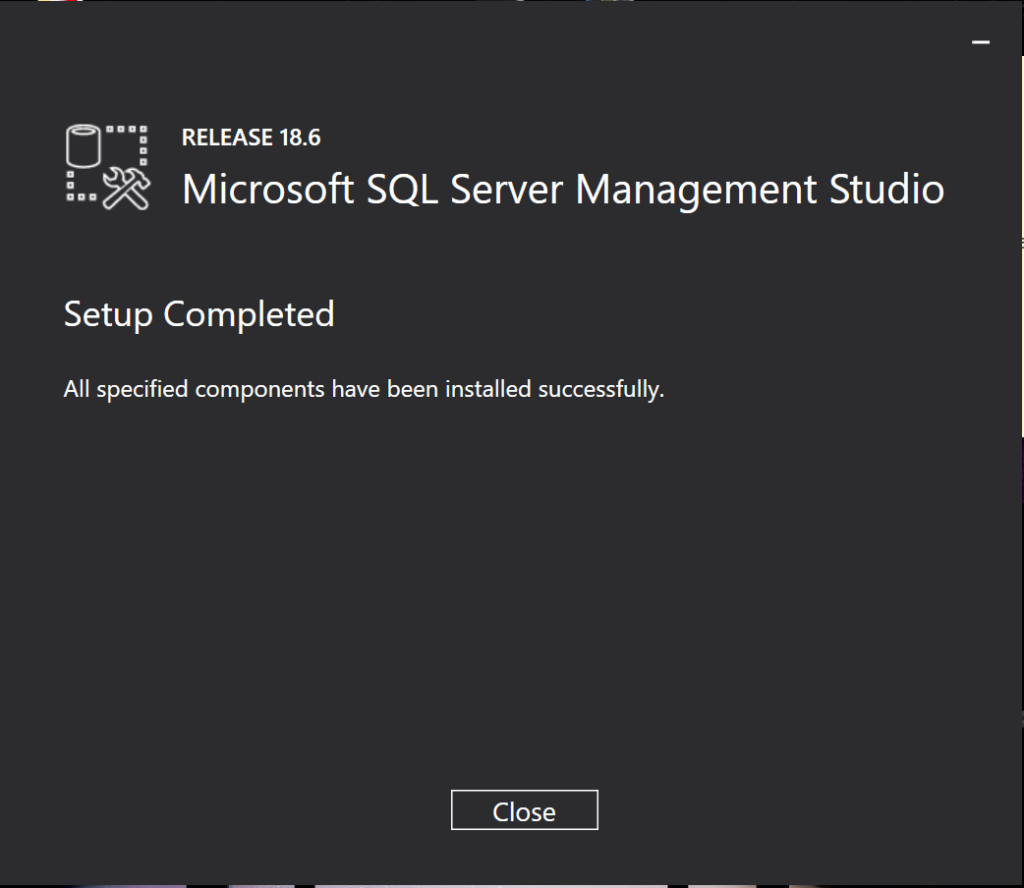
After downloading the SSMS installer, double click on it to start installation. A prompt as given below would appear.
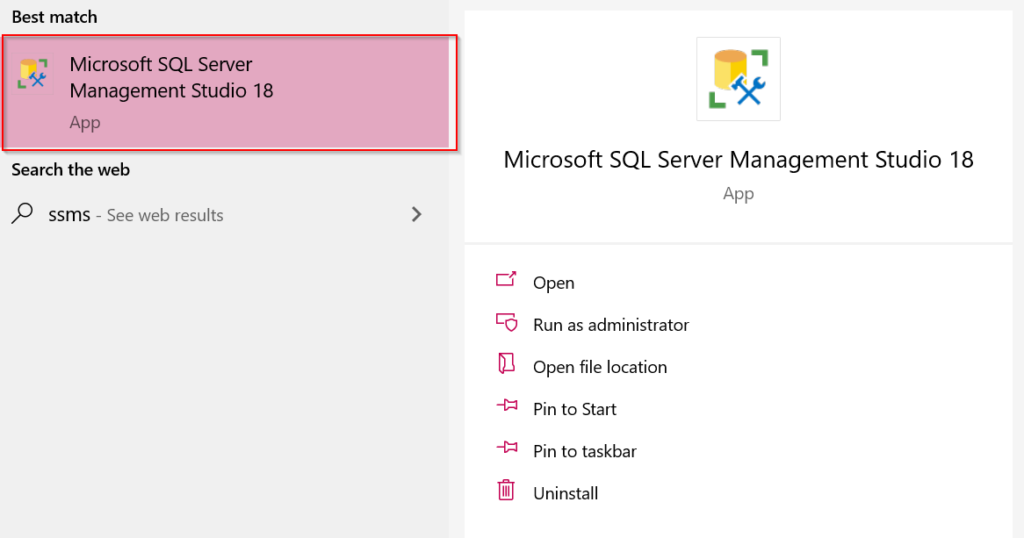
Now both Microsoft SQLServer and Management Studio is installed. Next step is to access it. For doing so, search SSMS from start menu.

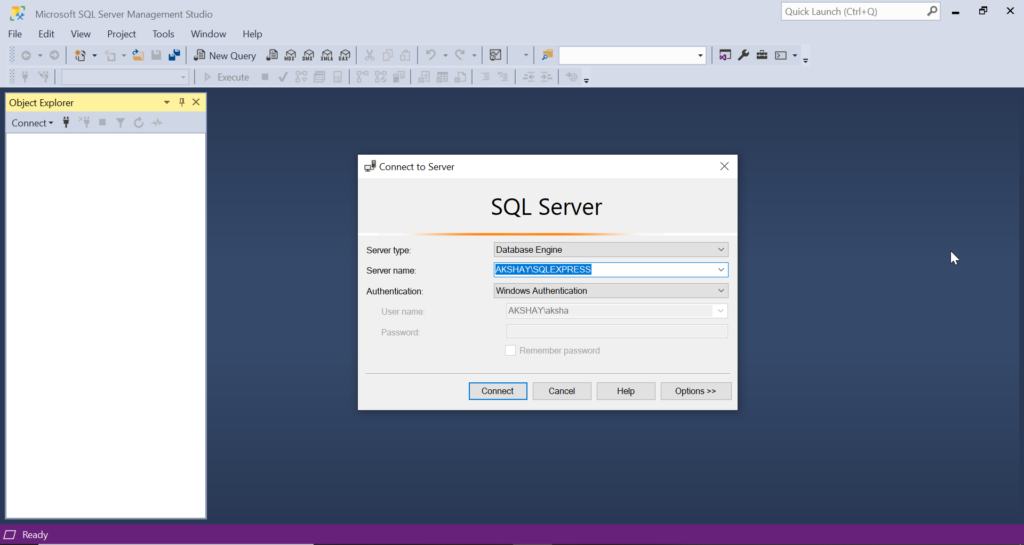
At this point, you can use SQL server. But by default authentication mode is Windows authentication only. You cannot give username and password for authentication. To achieve the same, following steps needs to incorporated.
- Right click on root node of Object Explorer found on left side pane.
- Click on properties.
- Select “Security” option from left top pane “Select a page”.
- Select “SQL Server and Windows Authentication mode” option from Server authentication.
- Hit OK.
- SQL Server Restart is required.
- Now expand Root node.
- Expand Security
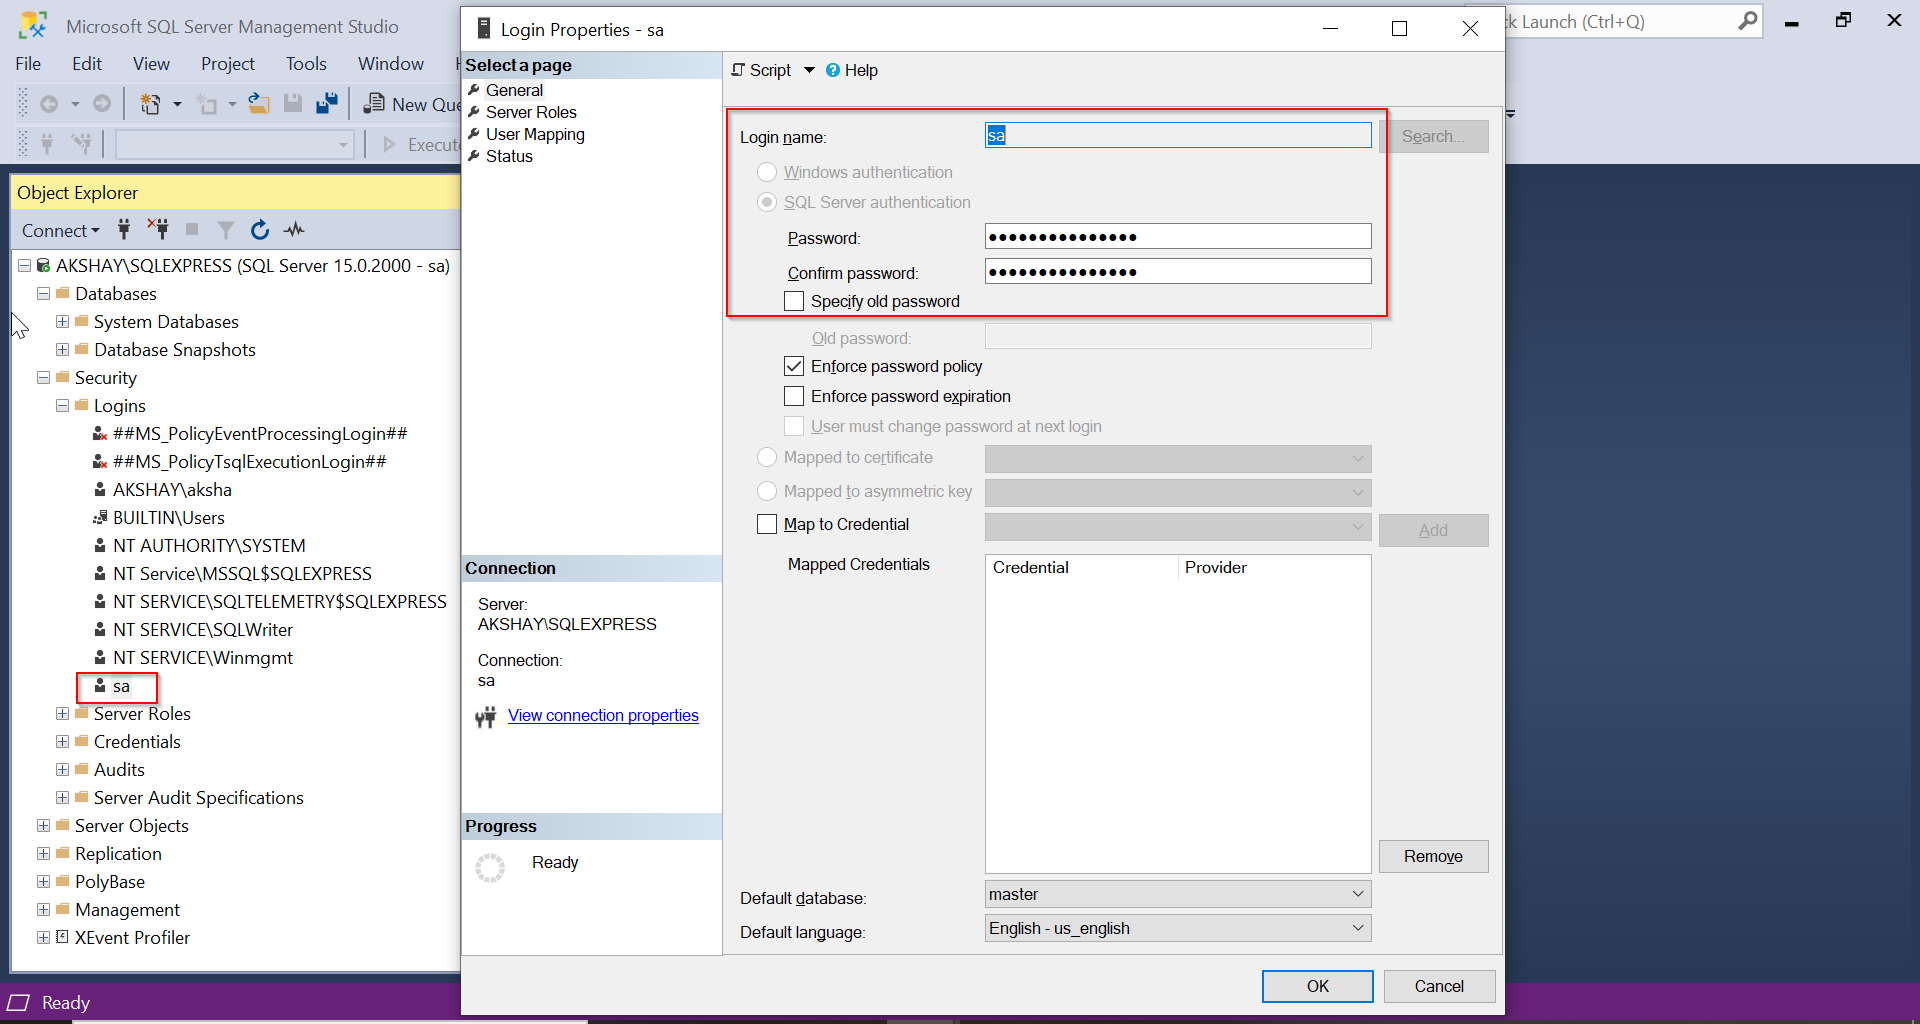
- Expand Logins
- Right click on sa.
- Click on Properties, dialog will open.
- Enter the desired password and hit OK.
- Password has been set for the user “sa”.
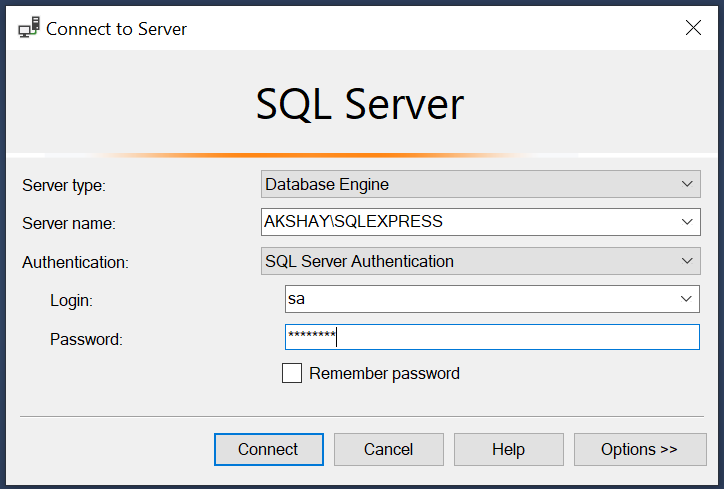
- Now SQLServer can be accessed via both windows authentication as well as server authentication i.e username/password


Thanks for reading. That’s all folks!